How to Make Your Own Stamp at Home — From Hand-Carved to Digital Tools
Creating your own stamp can be a surprisingly rewarding experience. Whether you want to personalize documents, add a handmade touch to crafts, or explore creative projects, making a stamp gives you full control over design and style. Today, you don’t need to be a professional engraver to start — you can choose between traditional hand-carving methods or modern digital options such as using an online stamp design maker.
In this guide, we’ll walk through different approaches to making your own stamp, explain what tools you’ll need, and share insider tips on how digital platforms can simplify the process while still giving you a professional finish.
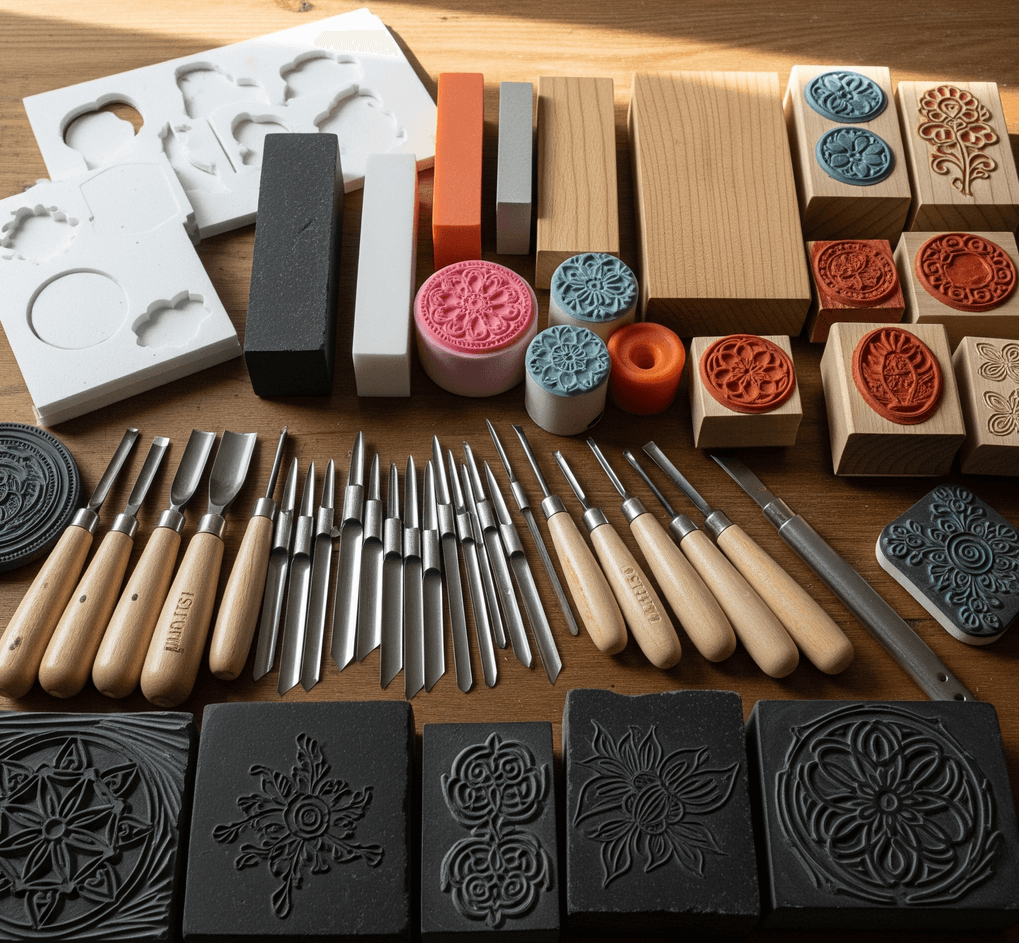
1. Choosing the Right Materials
The material you choose directly influences how durable, crisp, and easy to use your stamp will be.
- Rubber sheets – The most common choice for DIY stamps because they’re flexible, durable, and easy to carve with sharp tools. They provide clean impressions and are suitable for both beginners and professionals.
- Wood blocks – Not used for the design itself, but often as a base or handle to mount your rubber or linoleum piece. A solid backing makes stamping more consistent and comfortable.
- Foam sheets – Very forgiving and easy to cut with scissors or craft knives, making them ideal for kids’ projects or casual crafting. However, they don’t always produce sharp lines for detailed designs.
- Linoleum blocks – Harder than rubber, but favored by professional printmakers who want to carve large, bold designs. They last longer but require more effort and sharper tools.
Expert tip: If you’re just starting out, go with soft rubber or foam to practice. Once you’re comfortable with the carving process, move on to linoleum for more intricate projects. Always use a cutting mat to protect your table and keep your tools sharp — dull blades slip more easily and cause accidents.

2. Designing Your Stamp
Your design is the soul of the stamp. Whether you draw freehand or work digitally, the goal is clarity. Fine lines may look beautiful on paper, but they can get lost when carved into rubber or printed with ink.
- Hand drawing – Start with bold sketches. Use a soft pencil so you can transfer the design easily onto your carving block using tracing paper. You can even ink your sketch with a marker to make the outlines clearer.
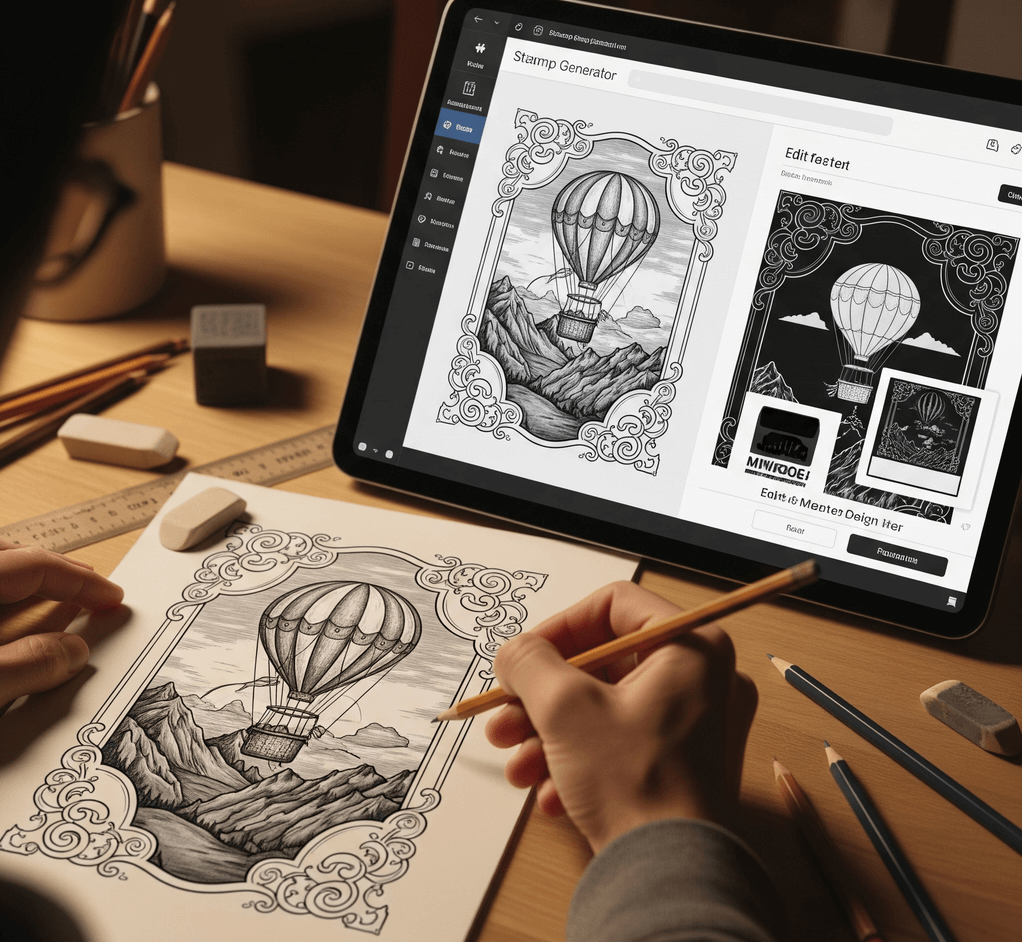
- Digital sketching – Online stamp generators are becoming the go-to option. With tools like an online rubber stamp creator, you can test multiple fonts, shapes, and borders in just minutes. This is especially useful for professional uses, like creating business seals, company logos, or personalized name stamps.
Keep in mind: A stamp prints in reverse. If you’re carving letters or numbers, you must draw them mirrored so they appear correctly when stamped. Digital tools usually handle this automatically, which is one of their big advantages.

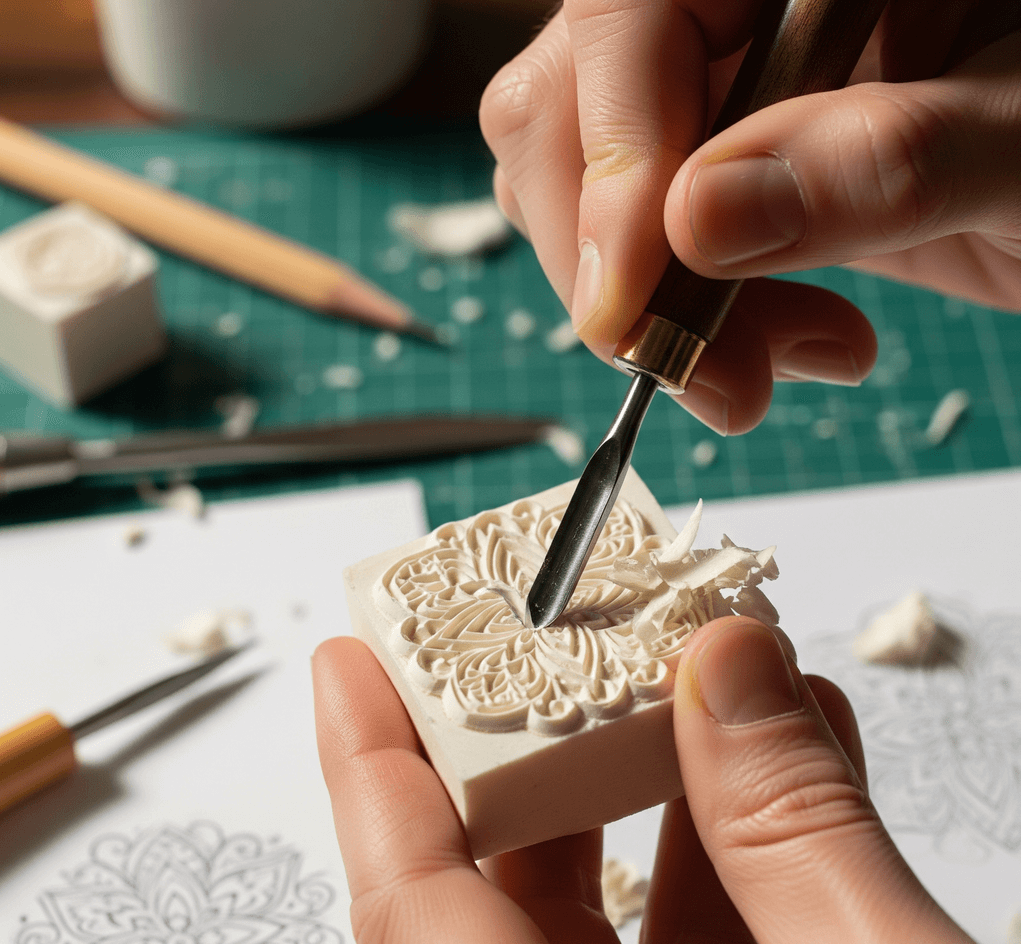
3. Carving the Stamp by Hand
Carving is the traditional route — and it’s also where many stamp enthusiasts fall in love with the process. It’s hands-on, requires patience, and the final result carries a handmade charm that machines can’t replicate.
Steps to carve your stamp:
- Transfer your design onto the rubber or linoleum.
- Start with the outline. Use a fine gouge for details and a wider one for clearing out larger areas.
- Carve away the negative spaces (areas that shouldn’t print).
- Go slowly around curves — rushing can ruin your design.
- Test on scrap paper frequently to catch mistakes early.
Pro insight: Hand-carved stamps often have slight imperfections, but that’s what makes them unique. If you’re creating a logo or official seal, you might prefer digital precision. But if you’re crafting for art, gifts, or fabric printing, those imperfections add character.

4. Using Digital Stamp Generators
For modern creators, digital stamp makers are a game-changer. They save hours of carving, reduce mistakes, and allow anyone to make a professional-quality stamp without specialized tools.
Here’s how it works:
- Browse and select from ready-made templates that already include borders, emblems, or standard stamp layouts.
- Add your own text, company name, or logo. Adjust the font size, style, and placement.
- Instantly preview how the stamp will look in different sizes.
- Export the design as an image, or order it directly as a physical rubber stamp.
Digital tools are particularly popular for businesses that need clear, repeatable designs — such as company seals, date stamps, or signature stamps. They also work for individuals who want monograms, wedding stationery stamps, or even digital-only stamps for electronic documents.
Why it matters: Unlike manual carving, there’s no wasted material. If you don’t like your design, just edit and re-export until it’s perfect.
5. Printing and Applying Your Stamp
Once your design is ready, the fun part begins: putting it to use.
- Ink pads: Available in dozens of colors, from classic black to metallic gold. These are perfect for hand-carved or foam stamps.
- Digital integration: For stamps made online, you can insert the design directly into PDFs, Word files, or invoices. This is especially practical for businesses handling digital documents.
- Creative projects: Scrapbooking, greeting cards, wrapping paper, fabric patterns — stamps add a personal touch to anything you print on.
Extra idea: Some people combine methods. For example, they design digitally, print the design onto transfer paper, and then use it as a guide for carving by hand. This way, you get the precision of digital tools and the authenticity of handcraft.
6. Which Method Should You Choose?
- Hand-carved stamps are best if you enjoy DIY crafts, want something truly unique, or appreciate the traditional artistry of carving.
- Digital stamps are the smarter choice if you need speed, precision, and professional quality, especially for businesses or frequent document use.
The truth is, there’s no “one-size-fits-all.” Many enthusiasts use both: designing logos and layouts online, then translating them into hand-carved blocks for a hybrid approach. This not only saves time but also bridges the gap between technology and craftsmanship.
Final Thoughts
Stamp making has come a long way. What used to require professional engraving skills is now accessible to anyone with basic tools or an internet connection. Whether you prefer the tactile satisfaction of carving rubber or the convenience of a stamp generator online, both methods open up endless possibilities.
The important thing is to experiment. Try carving a simple geometric design to get started. Play with fonts and shapes in a digital tool. Mix and match methods until you find what feels right for your purpose — whether it’s a family craft project, an official company seal, or a unique artistic print.
In the end, every stamp tells a story. By making your own, you’re not just creating a tool — you’re creating something personal, lasting, and uniquely yours.