Stamp Maker Guide to QR Code Stamps That Still Scan
A QR code stamp has to satisfy two standards at once: it must look intentional as a mark, and the printed code must remain readable after ink, pressure, paper texture, and human technique alter the artwork. A stamp maker can help you assemble the layout and prepare a clean export, but the finished impression still needs physical proofing. Start with a short destination, protect the code's clear margin, keep decorative elements outside that margin, and test the actual stamp on every material you plan to use.
This guide focuses on design and production checks rather than promising that one size, ink, or error-correction setting will work everywhere. A scanner reads the final impression, not the ideal file on your screen.
Why a QR Code Stamp Is Harder Than an Ordinary Logo Stamp
A conventional logo can tolerate small character changes. A slightly rough edge may even support a handmade look. A QR code is different because its grid carries data. Ink spread can join neighboring dark modules, missing contact can erase part of a pattern, and an uneven surface can distort the square geometry.
The code also competes with the normal goals of a stamp design. You may want a business name, border, icon, or short instruction around it. Each addition reduces available space or risks intruding into the blank area the scanner uses to separate the code from its surroundings.
Treat the QR code as the functional core, not as decoration. Establish its minimum proven size first. Build the rest of the stamp around that result. If the full mark becomes too large for the intended package or card, simplify the surrounding content instead of shrinking the code until it only works in a perfect preview.
Reduce Data Before You Design the Stamp
The amount and type of encoded data affect the density of a QR code. More data generally produces a busier grid with smaller modules at the same physical size. A rubber impression with many tiny transitions is more vulnerable to filling, breaking, and surface texture.
Use the shortest approved destination that serves the workflow. Avoid placing a long message, complete contact record, or several fallback destinations inside the code merely because the format can hold them. If a controlled short redirect is available, it can keep the printed symbol simpler while letting an authorized owner update the destination later. That redirect must be maintained; a clean impression is useless if its destination expires.
Decide whether the destination is public before production. A stamp can be copied by anyone who can see or photograph it. Do not encode private tokens, personal records, internal credentials, or links that depend on secrecy. The QR code should open a destination that is safe for the audience and suitable for repeated use.
After generating the QR asset, freeze its data and record the destination in the proof notes. Regenerating the symbol from the same visible URL can still change implementation details. The approved image, not a remembered set of inputs, should become the production source.
Use a Stamp Maker Without Disturbing the Code Grid
Prepare the code as a high-contrast square asset, then place it in the Stampdy stamp maker as an image element. Keep its aspect ratio locked. Stretching the square into a rectangle changes the module geometry and invalidates earlier tests.
DENSO WAVE's published QR Code guidance specifies a clear quiet zone four modules wide on every side of a standard QR Code. Preserve that area as actual blank space. Do not put a border, arc text, stars, a logo, or paper-toned decoration inside it. The quiet zone belongs to the code even though it does not look like content.
Build outward in this order:
- Place the unchanged QR square and its quiet zone.
- Set the overall stamp boundary beyond the quiet zone.
- Add one short instruction only if it helps the user understand the destination.
- Add a business name or symbol in a separate zone rather than over the code.
- Remove any decoration that forces the code to become smaller.
Keep the code in one solid dark color on an unprinted or consistently light area. Color can work in some scanning conditions, but a physical stamp adds variables that a digital color test does not capture. High contrast is the easiest starting point to proof.
If the imported asset has excessive canvas space, create a separate working copy with the crop stamp tool. Never crop into the quiet zone. Compare the working copy with the frozen source before continuing.
Choose Physical Size From the Module, Not the Outer Border
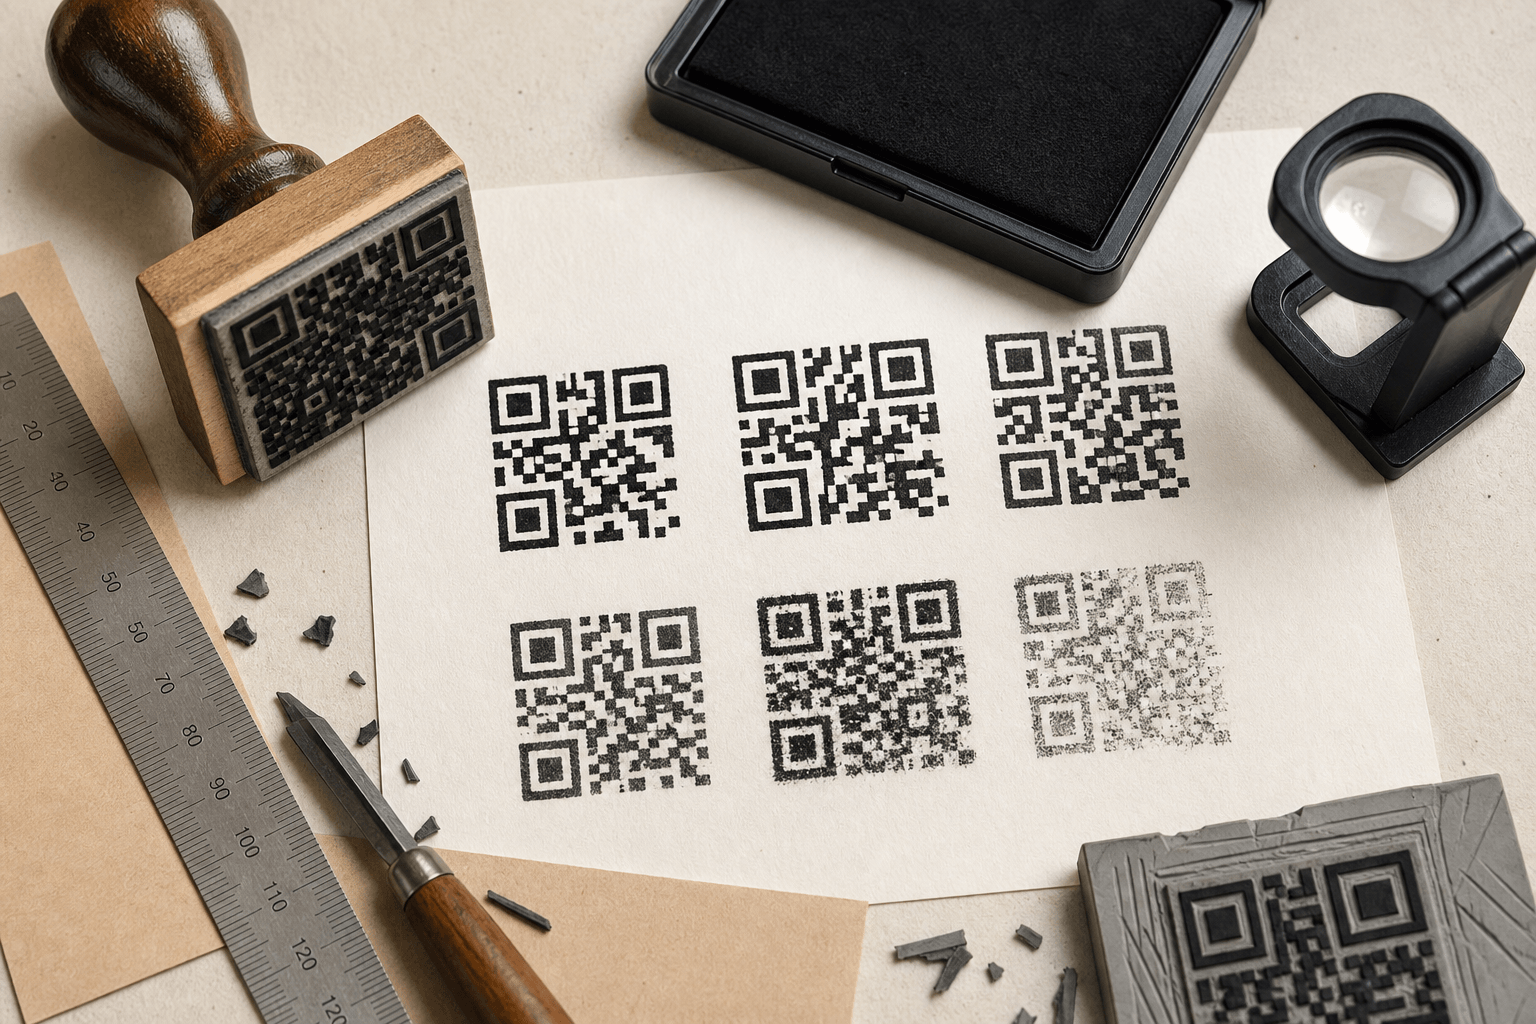
The important unit is the individual square module. A large decorative border does not make a dense code easier to print. What matters is whether each dark and light module remains distinct after the die, ink, pressure, and substrate have influenced it.
Ask the stamp manufacturer what minimum feature size is realistic for the chosen production method. Then calculate or inspect the QR artwork at the intended physical dimensions. Vendor guidance should be treated as a starting constraint, not as a scan guarantee, because paper and handling still matter.
Print the artwork at actual size before ordering. Do not judge it only on a zoomed monitor. Look at the three large position-detection squares, the smallest module gaps, and the quiet zone. If the grid already feels fragile on a clean printout, a rubber impression is unlikely to improve it.
When space is tight, reduce encoded data, enlarge the stamp, or separate the QR code from the surrounding brand mark. Do not selectively thicken or redraw modules by hand. Those changes may alter the data pattern even when the result looks visually stronger.
Match Ink and Substrate Through Real Proofs
Paper absorbs and spreads ink differently. Smooth uncoated stock may hold edges well, while rough kraft or corrugated board can leave gaps. Coated stock may resist the chosen ink or allow it to smear before drying. Curved containers and box seams can prevent even contact.
Choose the ink system with the stamp supplier and ink manufacturer for the actual surface. Then test it under normal working conditions. A proof on office paper does not approve a stamp for coated labels, fabric, or packaging.
Create a test area that is flat, clean, and larger than the stamp. Ink the die evenly. Apply vertical pressure without rocking, then lift it straight up. Rocking may fill the outer modules or double-print an edge. Excess pressure can spread ink, while too little pressure can erase parts of the grid.
Do not improve a failed impression by repeatedly stamping the same spot. That creates a pattern different from routine use. Adjust one variable—ink load, pressure, surface support, or artwork size—and make a fresh impression so the cause remains visible.
Build a Scan Test Matrix Before Production Release
A single successful scan is evidence for one impression under one condition. A useful release test samples the variation the stamp will face.
Make several impressions at the beginning, middle, and end of a normal stamping session. Include the lightest and heaviest acceptable ink loads. Test each approved material and any meaningful color variation. If packages are normally stamped after assembly, test assembled packages rather than only flat scrap material.
Scan the dry impressions with more than one device and camera position when practical. Try normal room light, a modest angle, and the expected user distance. Confirm the full destination after the code opens; do not stop at the first visible preview.
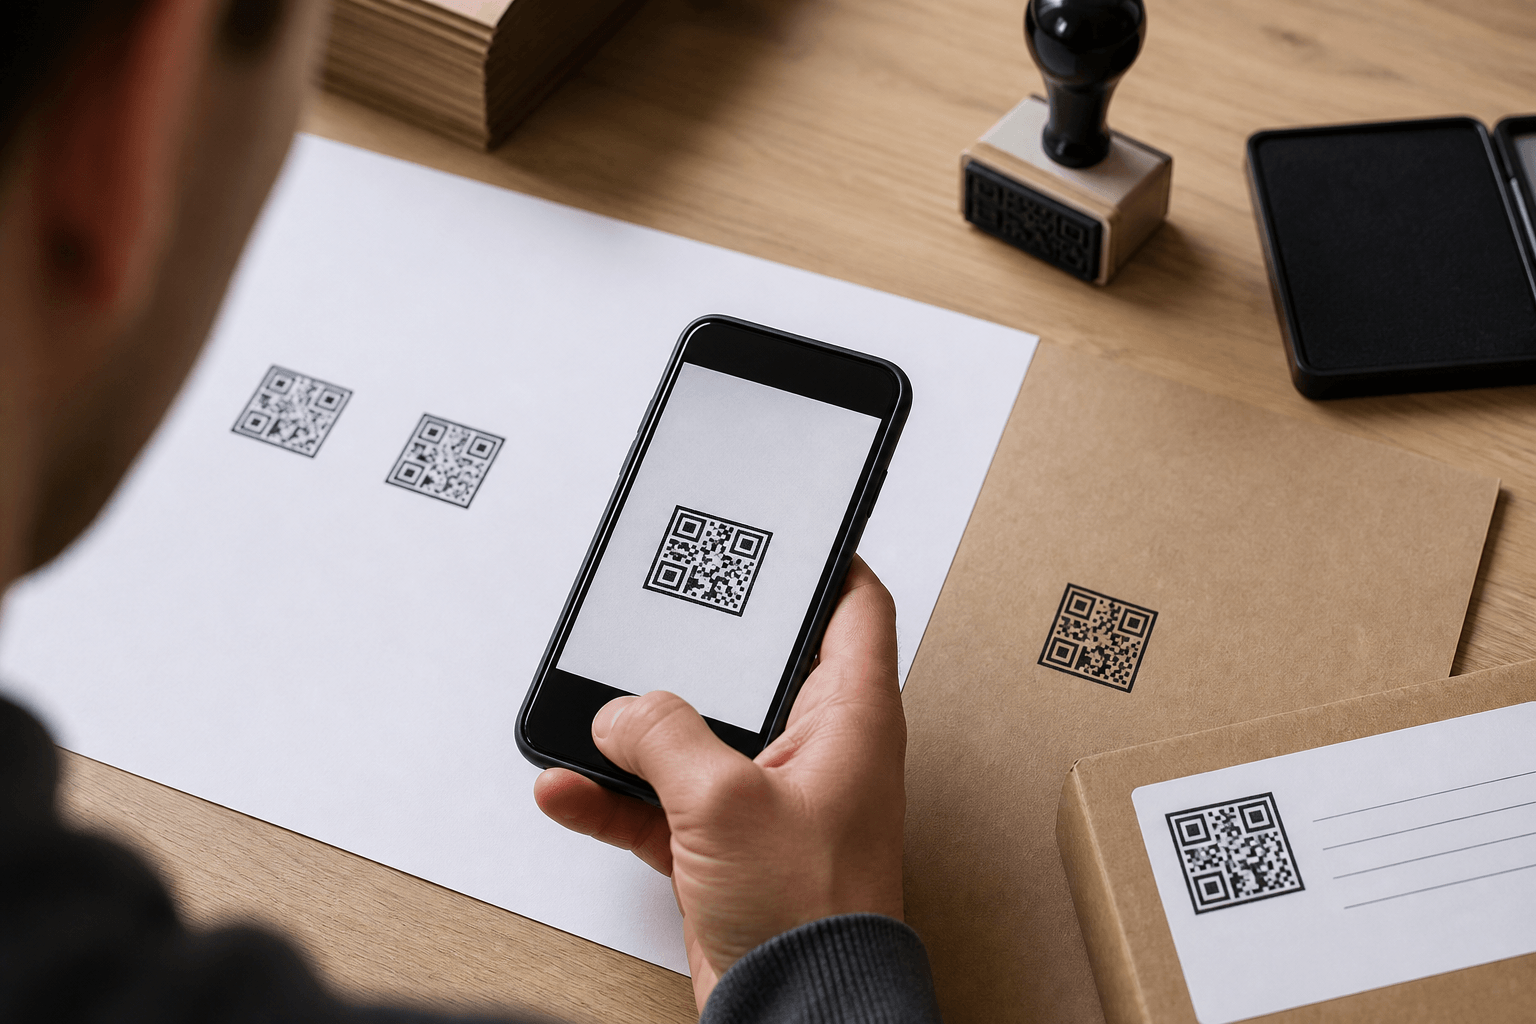
Record the failed impressions as carefully as the successful ones. Note whether modules merged, the quiet zone was interrupted, the surface collapsed, or the stamp was rocked. The goal is not to calculate a universal success rate. It is to define a repeatable acceptable impression and the conditions that produce it.
Error correction can help a QR code recover from some damage, but it should not be used as permission to cover modules with a logo or accept weak production. Higher correction settings can also increase symbol density for the same data. Choose the setting with the QR generation tool, then validate the exact frozen symbol after it becomes a stamp.
Diagnose the Most Common QR Stamp Failures
The code scans on screen but not on paper. The physical modules may be too small, the ink may have spread, or the paper may have broken the pattern. Compare the actual impression with the source at high magnification and increase physical size if needed.
The first impressions scan, but later ones fail. Ink distribution may be changing, debris may be collecting on the die, or the operator may be compensating with pressure. Clean and re-ink according to the stamp system's instructions, then repeat the same controlled series.
The code works on white stock but fails on kraft. Contrast, absorbency, and texture have changed. Test a suitable ink, choose a smoother label area, or reserve the QR version for a light unprinted panel.
A border appears to break scanning. Check whether it enters the four-module quiet zone. Move the border outward or remove it. A visual frame is optional; the clear area is functional.
Only one phone reads the mark. Do not design around that exception. Increase the module size, simplify the data, improve the impression, and repeat the device matrix.
Prepare a Clear Production Handoff
Keep three files: the frozen QR source, the full stamp artwork, and a proof PDF or image showing intended physical dimensions. Name them with a version and approval state. Avoid replacing a file in place after the physical die has been ordered.
The handoff should state:
- encoded destination and its owner;
- finished stamp dimensions;
- approved substrate and ink combination;
- quiet zone requirement;
- orientation of the handle or mount;
- a reference image of an acceptable impression;
- scan devices and conditions used during proofing;
- review date for the destination.
Use the print-ready stamp export guide to choose a delivery format with the manufacturer. Ask the manufacturer to confirm scale rather than assuming every application preserves dimensions during import.
Frequently Asked Questions
Can a QR code be made into a rubber stamp?
Yes, if the code is simple enough, large enough for the production method, surrounded by its quiet zone, and proven on the intended surface. The exact result depends on the die, ink, pressure, substrate, and scanner, so test the finished physical stamp before routine use.
Can I put a logo in the center of a QR code stamp?
Avoid modifying or covering the code for a first production version. Even when error correction is available, a logo removes data modules and reduces tolerance for ink defects. Keep branding outside the quiet zone unless a qualified QR workflow has generated and validated the exact modified symbol.
What is the best size for a QR code stamp?
There is no universal physical size. It depends on the code version, data density, module size, manufacturing process, ink, paper, and scanner. Ask the manufacturer about producible feature size, then approve the stamp through actual-size print and physical scan tests.
Should I test the QR stamp before the final die is made?
Test the digital artwork at actual size before ordering, then test a physical proof or the finished stamp before release. Digital printing can catch scale and quiet-zone problems, but it cannot reproduce every variable in rubber, ink, pressure, and paper.
Conclusion
A reliable QR code stamp begins with less data, a protected four-module quiet zone, and modules large enough for the chosen production method. Use a stamp maker to assemble the code and surrounding content without stretching or decorating the grid. Then prove the exact artwork with the intended die, ink, material, and scanning conditions.
Before release, confirm the destination, freeze the source, inspect several impressions, scan the best and worst acceptable examples, and document the working setup. If the mark only scans under ideal conditions, it is still a draft—not a production QR code stamp.