Stamp Maker vs AI Image Stamp Maker: Choose the Right Start
Choose a regular stamp maker when you need to build or edit the layout element by element. Choose an AI image stamp maker when you already have a clear logo, wordmark, or business mark and want to simplify that image into a one-color stamp. The difference is the starting material: editable instructions on one side, an existing visual asset on the other.
This distinction matters because the two workflows solve different problems. A regular editor is better for exact wording, borders, shapes, and layout revisions. An image-first AI tool is better for interpreting a visual identity that would be time-consuming to trace manually. Deciding correctly at the start reduces rework and makes the review standard clearer.
Use a Regular Stamp Maker for Exact, Editable Construction
A regular stamp maker is the practical choice when you know what the stamp must say and how its parts should be arranged. You can begin from a template or a blank design, then work with text, logos, shapes, layout, and color in the editor.
Choose this route when:
- the wording must be entered and checked exactly;
- a branch, date, department, or status may change later;
- the border and text paths need manual control;
- reviewers are likely to request layout revisions;
- the stamp should be exported in a specific supported format;
- you have a design brief but not a finished visual mark.
This is an instruction-first workflow. You decide what elements exist, add them, and adjust their relationships. The editor does not need to infer which parts of an uploaded image matter most because you create those parts directly.
For example, imagine an operations team needs a rectangular “RECEIVED” stamp with a department name and a blank date area. The content is mostly text and structure. A regular editor lets the team set the exact words, align the lines, choose a border, and retain a master that can be revised when the department name changes.
Open the Stampdy stamp maker when this kind of control is the main requirement. Treat templates as starting structures, then verify every element against the approved wording and intended use.
Use an AI Image Stamp Maker for an Existing Visual Identity
An AI image stamp maker begins with an image rather than an empty composition. Upload a clear logo, trademark, company-name image, or business mark, and the workflow simplifies it into a one-color stamp image for review and download.
Choose this route when:
- a recognizable visual asset already exists;
- the source has shapes that would be tedious to rebuild manually;
- a one-color interpretation is the intended result;
- preserving the overall silhouette matters more than editing every vector point;
- you can review the output against an approved source.
This is an interpretation-first workflow. The tool decides how to convert color, detail, and contours into a stamp-like image. Your job shifts from constructing each element to preparing a good source and judging the result.
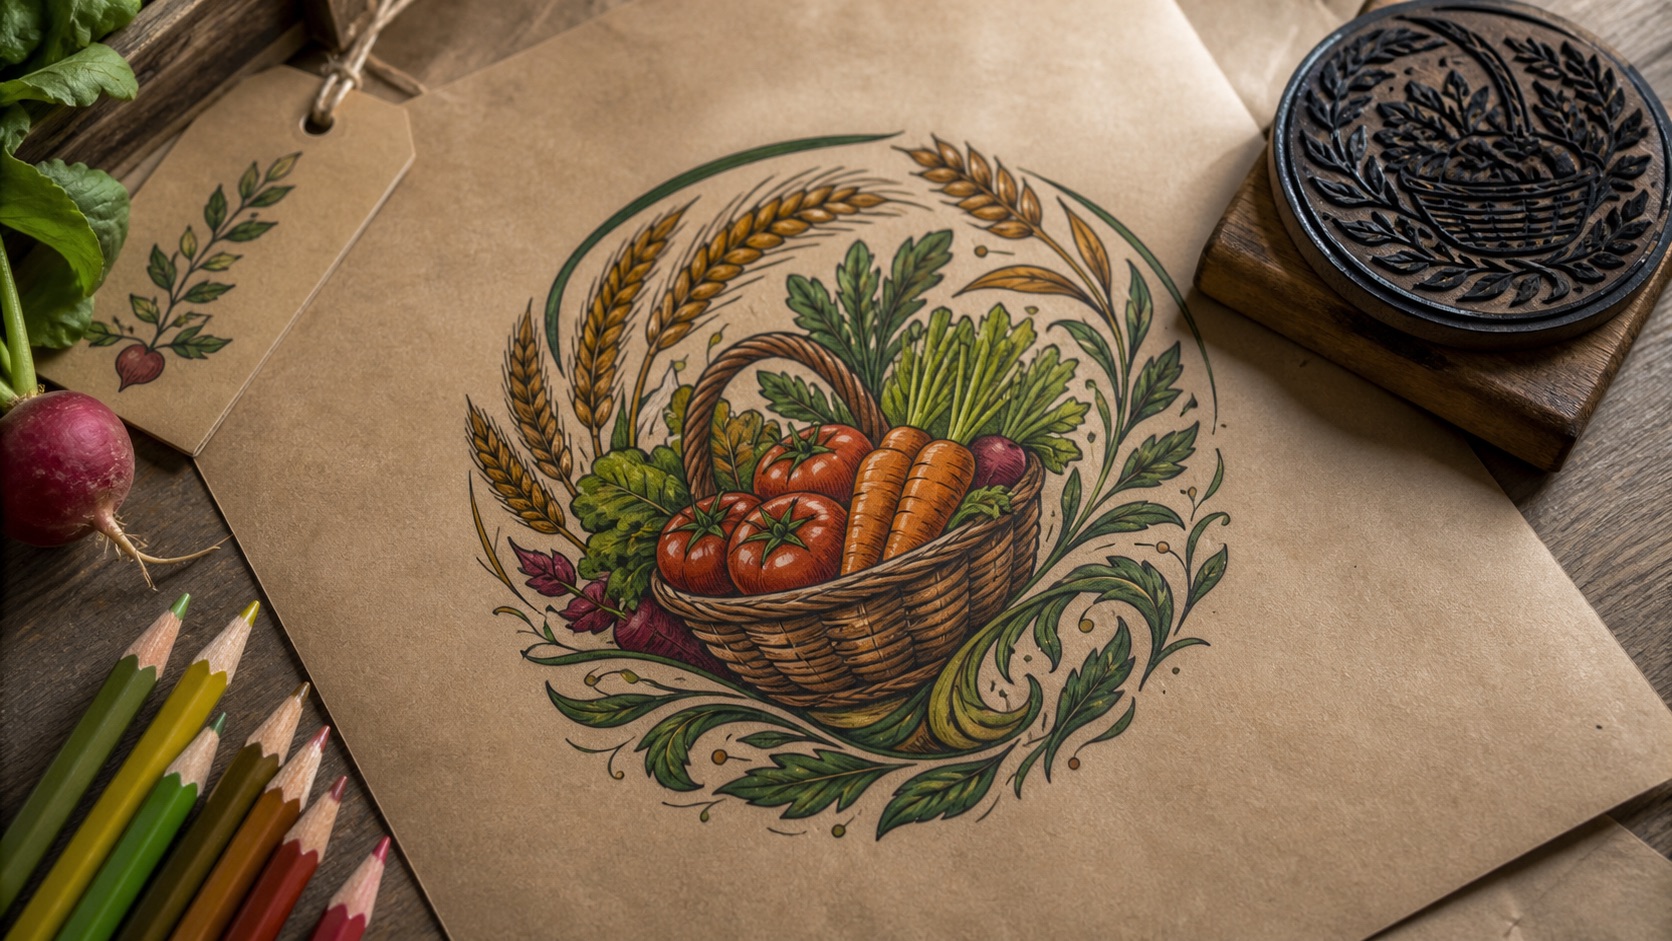
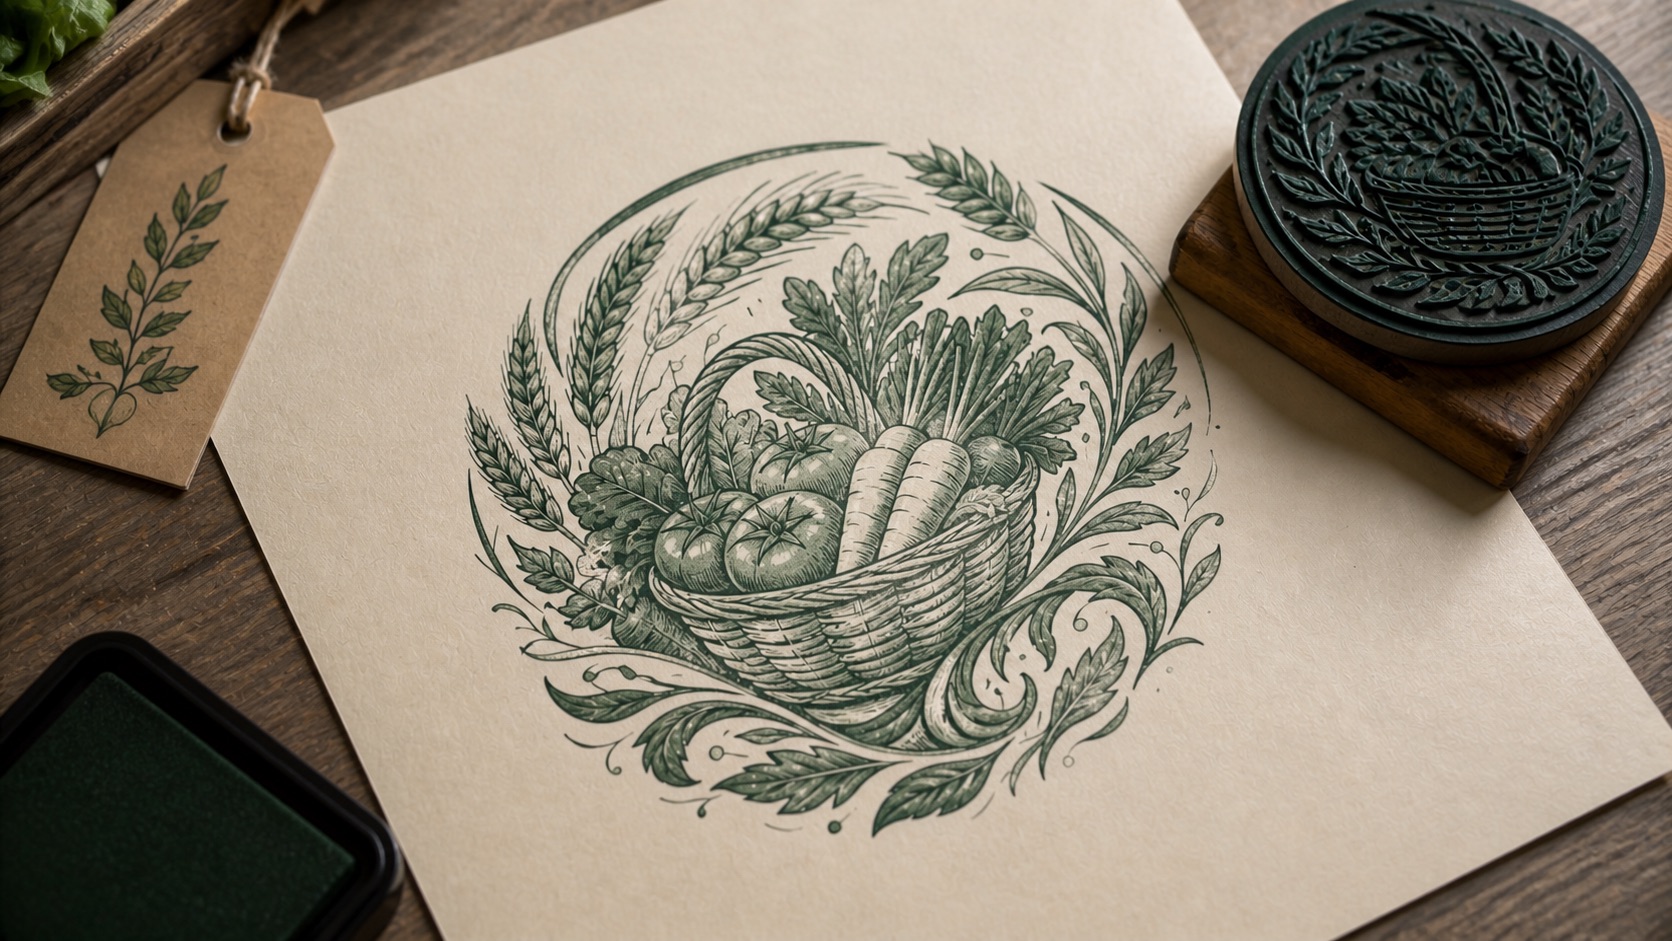
Consider a produce-market emblem built from a basket, vegetables, grain, and surrounding leaves. The important content already exists as a designed image. Rebuilding its shapes from scratch would add work and could change its character. Using the AI image stamp maker gives the existing mark a direct path to a one-color result, provided the source features and any required wording are checked carefully afterward.
Compare the Two Workflows by the Decision You Need to Make
The right tool becomes obvious when you name the decision instead of the desired appearance.
| Decision | Regular stamp maker | AI image stamp maker |
|---|---|---|
| Start from approved text | Strong fit | Usually unnecessary |
| Start from an existing logo image | Can place a logo in a broader layout | Strong fit for one-color interpretation |
| Edit wording directly | Yes | Review output; use an editor if text must be rebuilt |
| Control borders and layout | Direct control | Result is generated from the source image |
| Preserve a complex silhouette | May require manual assembly | Useful when the source is clear |
| Revise a branch or department later | Straightforward in an editable master | May require a new source or editor step |
| Simplify gradients and color detail | Manual design decision | Core image-conversion task |
The table is not a quality ranking. It maps requirements to methods. An AI result may be visually strong but still unsuitable if the team needs editable wording. A manually built stamp may be perfectly controlled but inefficient if the real job is preserving a distinctive illustrated emblem.
Ask Five Questions Before Choosing
1. What do you already have?
If you have exact text, a required shape, and layout instructions, start in the regular maker. If you have an approved image that already expresses the identity, start with the AI image tool.
“We have a logo somewhere” is not enough. Find the actual source and inspect it. A tiny screenshot, a photograph of a printed label, or a blurred image embedded in a PDF may not provide clean information. In that case, locating a better asset is more important than choosing a tool.
2. Which parts must remain editable?
List the items likely to change: date, branch, department, address, status, or legal wording. If several items need later revision, keep them as editable text in a regular stamp master.
An AI-generated image is better treated as an output to review, not as a convenient way to manage frequently changing text. You can use a simplified generated symbol inside a manually assembled stamp and keep the changing fields separate.
3. Is visual similarity or textual precision the harder problem?
For an illustrated emblem, visual similarity may be the difficult part. For an approval stamp, exact wording is often the difficult part. Choose the workflow that addresses the harder problem directly.
Do not assume that text visible in an image has been verified. Compare every required letter with the approved source. If exact wording is critical, entering it in an editor provides a clearer correction path.
4. What is the smallest intended use size?
Both workflows need small-size review. A regular design can become crowded with too many elements. An AI conversion can retain so much detail that the output closes up when reduced.
Define the expected size early. Review the stamp in a sample document rather than relying on a large creation preview. If the asset must work in several contexts, keep an approved master and prepare deliberate delivery versions.
5. Who will approve the result?
Name the person responsible for wording, identity, and operational use. A designer can review spacing, but may not be able to approve a legal company name. A brand owner can recognize the logo, but may not know the document placement requirement.
The approval checklist should reflect the workflow. A regular design needs checks for text, hierarchy, border, and alignment. An AI image result needs source comparison, recognition anchors, artifacts, and wording review.
A Hybrid Workflow Often Solves Mixed Requirements
You do not have to force the whole project into one tool. A hybrid workflow can separate visual conversion from editable assembly.
Use this sequence when a stamp needs both a complex identity and controlled text:
- Prepare a clean source logo or symbol.
- Use the AI image stamp maker to produce a simplified one-color interpretation.
- Review the symbol against the approved source and select one result.
- Import or place that result in the regular stamp maker.
- Add exact company, branch, or status wording as editable text.
- Set borders and spacing around the combined design.
- Review the complete stamp at its intended output size.
This division keeps each tool focused on what it does in the workflow. The AI step handles the image transformation. The editor handles composition and exact text. It also makes corrections less disruptive: a department-name change does not require the symbol to be generated again.
Avoid Choosing by Novelty or Habit
Two common mistakes point in opposite directions.
The first is using AI because it seems faster even when the stamp consists of simple, exact text. The result then needs extra review or reconstruction. If the brief says “round border, approved company name, branch below,” direct editing is usually the shorter path.
The second is rebuilding a distinctive image manually because the team always uses the regular editor. That can introduce unnecessary approximations. If a clean approved mark already exists and the goal is a one-color interpretation, an image-first conversion is a reasonable starting point.
Use the lowest-complexity workflow that preserves the important information. That may be a template, a blank editor, an AI conversion, or a short hybrid sequence. The tool choice should disappear behind a clear result and a simple approval record.
Build a Review Checklist for the Chosen Path
For a regular stamp maker project, confirm:
- every word matches the approved brief;
- primary and secondary information have a clear hierarchy;
- text does not touch borders or symbols;
- alignment remains clean at final size;
- the saved master can support expected revisions;
- the export format fits the next workflow.
For an AI image stamp maker project, confirm:
- the source is the correct approved image;
- the main silhouette and recognition anchors remain intact;
- required words are exact and legible;
- simplification did not create stray shapes or closed gaps;
- the result remains recognizable at final size;
- the source and approved output are stored together.
For either path, use a practical file name and record who approved the asset. The pre-use stamp quality checklist can serve as the final shared review after the workflow-specific checks are complete.
Frequently Asked Questions
Is an AI image stamp maker always faster?
No. It can be efficient when a clear visual identity already exists and needs one-color simplification. For simple exact text and borders, a regular stamp maker may reach an editable result faster.
Can I edit an AI-generated stamp afterward?
You can use the generated image as an asset in a broader workflow, including placing it in a regular editor to add controlled text or layout elements. If a specific part of the generated image itself must be changed precisely, rebuilding that part may be clearer than relying on repeated generation.
Which option is better for a company name with no logo?
A regular stamp maker is usually the direct choice. Enter the approved name as editable text, choose a shape, set the hierarchy, and review the result at practical size.
Which option is better for a detailed emblem?
An AI image stamp maker can be a useful starting point when you have a clean approved emblem and can identify the features that must remain recognizable. Review the result carefully and move to a hybrid workflow if exact text or additional layout is required.
Conclusion
Start with the asset you trust most. If that asset is approved wording and a layout brief, choose the regular stamp maker. If it is a clear existing logo or business mark, choose the AI image stamp maker for one-color simplification. If both are essential, convert the symbol first and assemble the final editable stamp second.
The right starting point is the one that keeps the hardest requirement under direct control. That single decision makes drafting, review, revision, and final approval easier to explain.