Online Rubber Stamp Creator to Laser: New Production Workflows
An online rubber stamp creator defines the mark you want to print. It does not, by itself, define how a laser should remove rubber around that mark. Between the artwork and the finished stamp sits a production job: a machine-specific interpretation of size, orientation, material, relief, and cutting.
New production systems are making that handoff more connected. The important change is not that a computer can draw a stamp; it is that design preparation, positioning, and machine operation can share a more organized workflow. The distinction matters when a good-looking file arrives at a workshop and someone must decide what to mirror, what to engrave, and what to leave raised.
What Is Actually New in 2026?
On September 8, 2026, Trotec announced Speedy Black Line in 360 and 480 models. Its release describes a platform combining laser hardware, Ruby software, automation capabilities, and production-system connectivity. Named features include positioning previews and API and Node-RED integration. The release lists CO₂, fiber, and Flexx configurations; the appropriate configuration still depends on the application and material.
For a stamp workshop, the interesting question is how order information reaches the production job. Can the operator identify the approved design? Is its intended size unambiguous? Can the selected process be reproduced? These are evaluation questions, not claims that buying a new machine resolves them automatically.
The underlying stamp-making techniques are older. Ruby's December 4, 2024 release notes already described default processing options for stamps. Mirroring and relief engraving should therefore not be presented as inventions of the 2026 launch.
Software integration also does not imply a ready-made connection to every design website. Stampdy prepares artwork; the existence of a machine API is not evidence that Stampdy sends jobs to that machine. A workshop would need a separately implemented and validated connection before relying on such automation.
Keep Three Different Artifacts Separate
The first artifact is the editable design. It contains the decisions you might need to change: wording, logo, border, and their relative positions. Keep this version useful for revision rather than treating a flattened preview as the only master.
The second is the approved impression proof. It states what the customer expects to see on paper, at a specified size. This is normally readable in the ordinary direction. Its job is to settle the appearance, not to carry every machine setting.
The third is the production job. That belongs to the maker's equipment workflow. It combines the chosen artwork with processing settings, the actual material, and the arrangement on the work surface.
These artifacts answer different questions:
| Artifact | Question it should answer | What it should not imply |
|---|---|---|
| Editable design | What can we change? | That every element is ready to engrave |
| Impression proof | What mark has been approved? | That the image is already mirrored for the machine |
| Production job | How will this equipment make it? | That the customer approved a later design alteration |
If a maker needs to thicken a fragile detail, that change should return to the proof stage. Quietly repairing the production file leaves the customer approving one mark while the workshop makes another.
Where an Online Rubber Stamp Creator Stops
Use the Stampdy stamp maker to settle the visual composition, then ask the maker what input they accept. The filename extension alone is not a complete production instruction. An SVG can contain embedded bitmap artwork, and a PDF can carry an image instead of editable paths.
In particular, do not assume that placing a raster logo inside a vector document has converted its details into clean outlines. If you need to inspect an existing vector design, the SVG-to-stamp tool is a separate preparation option. Its output still needs to match the receiving workshop's requirements.
The workshop must determine which interpretation of the file belongs in its process. Trotec's legacy stamp-engraving guide describes a driver mode that automatically mirrors and inverts the artwork. Ruby's current stamp-production guidance exposes a mirror option and says to disable it for artwork that is already mirrored. These are specific software behaviors, not universal instructions to mirror every file before sending it.
The safest handoff states the orientation explicitly: “This is the intended paper impression, supplied unmirrored.” Ask the operator to confirm the transformation that their process applies. That is clearer than an unexplained file named “final-reversed.”
Relief, Shoulders, and Cutlines Solve Different Problems
A conventional relief stamp transfers ink from its raised printing surface. The recessed areas create the spaces that should remain unprinted. Trotec's engraving guidance describes shoulders as support around the bases of letters and characters. The shoulder setting is about physical support, not simply making the artwork look bolder on screen.
A cutline has a different purpose: it separates the plate from the surrounding material. Ruby's documentation offers several cutline shapes and padding controls. It warns that a larger distance from the cutline can reduce the layout. That makes the final prepared dimensions worth checking again instead of assuming that import preserved every part of the composition.
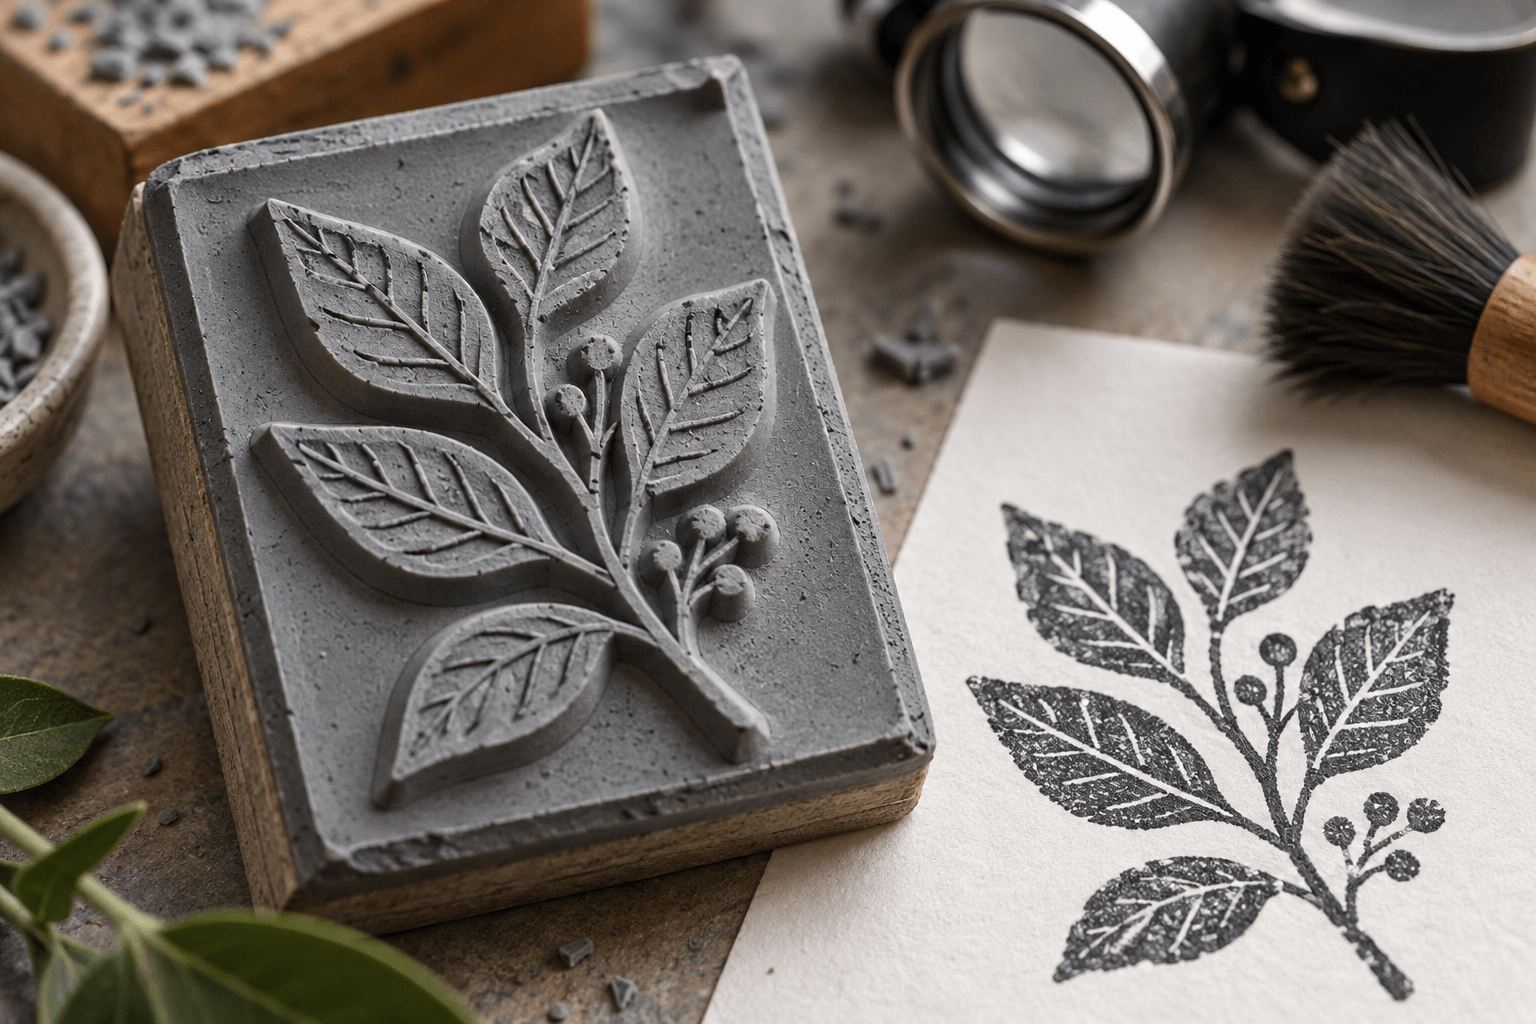
AI-generated relief illustration, not a measured sample or a recommended engraving depth.
Do not collapse these adjustments into one vague request to “make the lines stronger.” Ask which feature has failed and which part of the process would change it:
- If the intended inked shape is too thin, the artwork may need revision.
- If the raised shape lacks support, the maker should inspect relief preparation and material suitability.
- If the plate edge interferes with the impression, the maker should inspect the plate boundary and mounting.
These are diagnostic starting points, not substitutes for an operator's examination. A photograph may not reveal whether a poor impression comes from the design, the plate, the ink, or the stamping conditions. The positive-versus-reverse artwork guide helps settle which regions are intended to print before production begins.
A Useful Job Ticket Contains Decisions, Not Guesswork
Suppose you are ordering a hypothetical 40 mm circular logo stamp. The number is an example, not a recommended universal size. A concise handoff can specify:
“Approved impression: circular leaf mark, outer diameter 40 mm. Source file and readable proof attached. Artwork is unmirrored. Preserve the wording and open spaces shown in the proof. Please confirm the plate boundary and whether any detail needs revision for your material and process.”
Then ask the workshop to add its own production information: material reference, processing profile, orientation handling, and the approved job identifier. Do not fill those fields with settings copied from a different machine's tutorial.
This split makes responsibilities visible. You approve what should appear. The maker specifies how its equipment will produce it. If a profile changes, the operator can evaluate the consequence without asking you to interpret laser power values. If the lettering changes, the maker knows that the visual approval must be renewed.
A connected system can pass information between stages, but it cannot make an ambiguous instruction precise. “Use the usual size” remains ambiguous when the last order had two sizes. A useful job ticket should still make sense to a person who did not participate in the original conversation.
Batch Preparation Needs Identity as Well as Efficient Layout
Putting several plates into one job raises a practical issue: how does each finished plate stay associated with its approved design? Efficient use of material is only one part of the answer.
Ruby's stamp-production instructions describe retaining links that keep cut plates in the sheet until removal. They also require stamp mode for the stamp-specific settings and state that stamp and regular designs cannot be mixed in the same job. Those constraints belong to that documented workflow; check the rules of whichever system your maker actually uses.
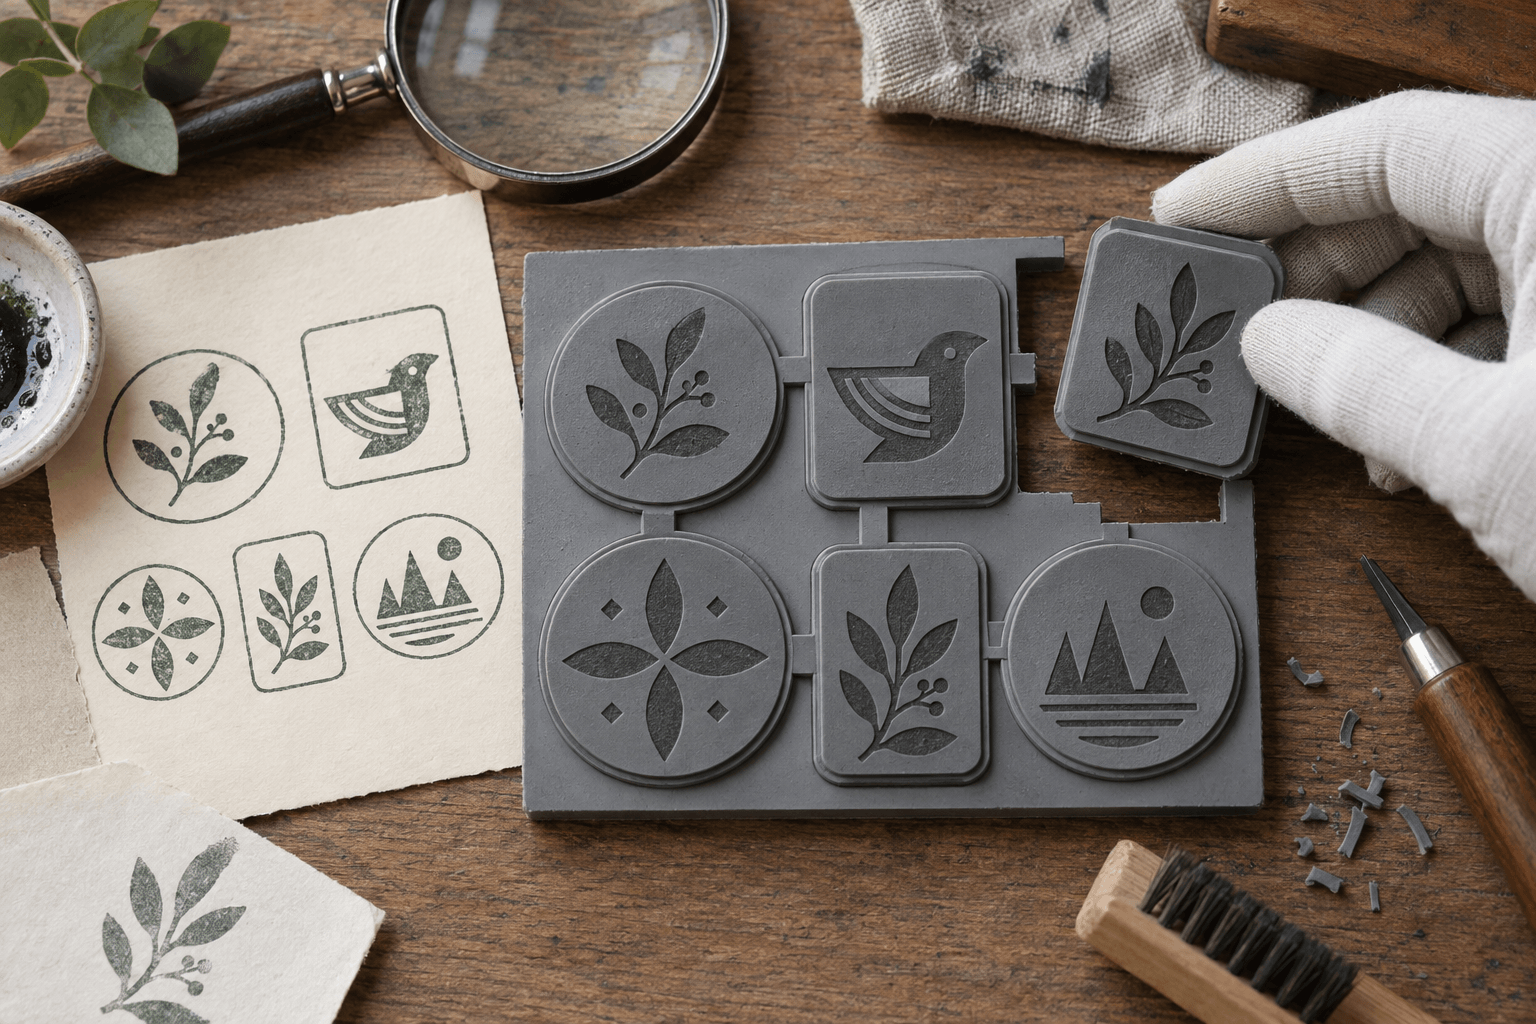
Generated sheet-layout concept. It illustrates grouping and identification, not a machine-ready arrangement or a production test.
For your own order, request a simple mapping between each approved proof and each item being made. A file label, position record, or clearly separated job can serve that purpose. The method should survive the point when individual plates leave the sheet.
Avoid embedding order numbers into the visible stamp artwork merely to help the workshop sort pieces. Identification information belongs in the job record unless the customer actually wants it in the printed mark. Otherwise, production convenience can accidentally become an unwanted design feature.
What to Check When the First Impression Arrives
Start with correspondence, not beauty. Is this the approved design? Is the text in the correct reading direction? Does the mark occupy the intended area? Those questions can expose a file or orientation mix-up before anyone adjusts engraving settings.
Next, inspect the smallest spaces that define the design: letter counters, gaps between border and text, and narrow openings in the logo. Compare the actual impression with the proof rather than with a dramatically enlarged screen view. If a feature disappears, describe its location instead of saying the whole stamp looks unclear.
Finally, have the maker distinguish artwork changes from process changes. A redesigned leaf, a revised shoulder profile, and a different ink are not interchangeable remedies. Record which change is proposed and request another relevant sample when it affects the result.
Machine setup, extraction, material compatibility, and operating safety remain the trained operator's responsibility. This article is a design-handoff guide, not instructions for running a laser or choosing settings for unverified rubber.
Frequently Asked Questions
Should I send a mirrored file to every stamp maker?
No. Ask which orientation the maker expects. Some stamp-specific software performs the transformation itself. Send a readable impression proof alongside the production input and label the file's orientation so nobody has to infer it from its appearance.
Does newer production software remove the need for a physical proof?
No. A prepared job can organize information without demonstrating how ink, plate, and surface interact. When small detail or exact appearance matters, ask for an appropriate sample from the actual production method rather than relying on a software preview alone.
Can one set of laser settings be shared between all stamp designs?
Do not assume so. Equipment, material, geometry, and the intended result can differ. The maker should select and validate its processing profile. Your useful contribution is an unambiguous proof and size specification, not an unsupported power or depth recommendation.
Conclusion
When using an online rubber stamp creator, make the workshop handoff explicit. Keep the editable design, approved impression, and production job distinct. Before authorizing manufacture, confirm size, orientation, and any proposed artwork alteration; let the maker validate the machine-specific process that turns that design into a plate.